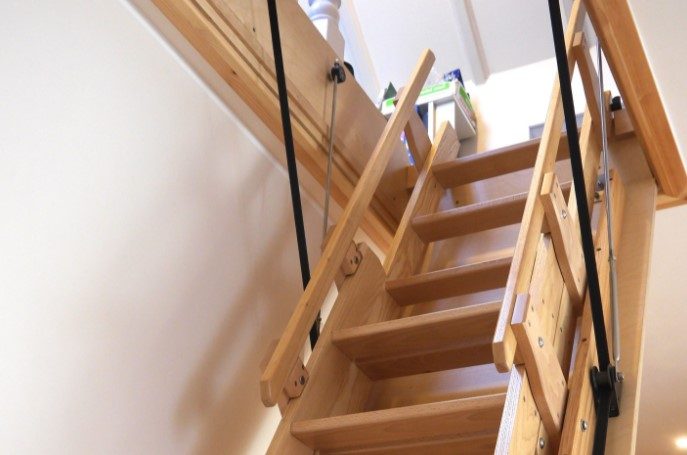
Installing an attic ladder is one of the easiest ways to make your home more accessible and functional. It allows you to reach areas that are hard to reach, repair or remove items with ease, and store valuable items that would not fit in the basement.
To install the attic ladder, you need a working ladder, and you have to find a way to get into the attic section of your apartment. While trying to do this, you should be careful with your stepping and movement so you don’t fall off the roof.
An attic ladder makes attic access fast and easy, but if you decide to install one by yourself, it can be a daunting task. You need to have a structural plan, gather necessary equipment and tools, get the ladder, and then proceed with the installation.
This article will teach you how to install an attic ladder by yourself. So, keep reading till the end.
Are Attic Ladders Easy To Install? Can I Do It Myself?
Installing an attic ladder is a straightforward and uncomplicated task. Most of the ladders for attics come with installation brackets attached to the wall with screws, nails, or adhesive tape. They are designed to be mounted quickly and with little effort all by yourself.
So, all that is left is for you to create an opening or the section where you intend to install the attic ladder. Also, having all the necessary tools will make the task easier for anyone to do. You need a portable saw, screwdriver, nails, screws, strong rope, solid wood, etc.

Once you have all those available, it is a simple task to engage yourself. In addition, you need to have a blueprint of what you want to do. It will surely take a lot of time if you work without a plan or a structural pattern.
There are many designs and patterns that you can get online such as on Google images, Pinterest, and many more. Additionally, you need to have a position to install the ladder. Once you have the position, the rest is history.
How Long Does It Take To Install An Attic Ladder?
Installing an attic ladder takes between 20 minutes to 1 hour unless you have to put a hole into the ceiling. You’ll need a drill, handsaw or reciprocating saw, scrap lumber, screws, and plaster cloth tape.

However, the time needed to install an attic ladder for stair painting varies depending upon several factors, including the size of your house and attic, the installer’s skill level, and whether existing steps are to be replaced or not.
There are several factors, and some of the common ones are:
1. Size of the house and attic
Before installing an attic ladder, you need to consider a few factors. First, determine how much storage space you have in your attic and decide which of these methods will give you the most storage potential without blocking too many access points to the rest of the attic.
You also need to figure out how big your house is and what other things might be blocking your access points to the attic. Also, the time to install an attic ladder depends on the size of your house and your attic’s dimensions.
2. Skill level of the installer
Professional installers with knowledge of building codes and roof framing will typically complete the process in less time. At the same time, DIYers may need 2 days to finish a complicated installation process that includes cutting through 2 layers of roofing materials.
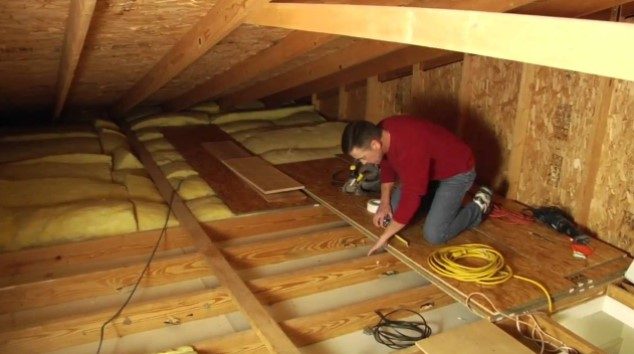
If you already have suitable attic access, the most difficult element about installing an attic ladder is the physical labor involved in lifting and screwing the segments into place.
However, if all components come pre-assembled, you should spend less time installing the attic ladder.
3. Condition of the attic
The attic condition is also a factor that determines the time it takes to install. If the attic is bad and needs improvement, you sure need to fix it before any installation.
In that sense, the time it will take to fix the attic will affect the time for installing the attic.
4. Pre-installed components
It takes only minutes to install our pre-installed components, making it easy to get up to the attic. So, if you are new to installing an attic, getting pre-installed components makes it quick and faster.
It is one of the ways of the experienced attic installer, and you keep wondering how they get to finish installing the attic so fast.
How Much Does It Cost To Install An Attic Ladder?
The attic ladder installation cost will vary depending upon your location, the time of year, and a few other factors. In most cases, however, the cost to install an attic ladder will run between $200 and above.
Most homeowners can expect to pay between $100 and $500 for this service. If you are located in a rural area without access to a large supply store or home repair center or if you want a quote before deciding to purchase, then you should expect to pay more.

Also, labor costs are the main factor influencing the total cost, so getting multiple quotes is crucial to finding affordable estimates. You need to know the right cost for installing an attic before starting the project.
How To Install An Attic Ladder By Yourself?
The steps and instructions you are about to read will help you install the attic ladder yourself without any setbacks.

The tools you need are:
- Framing timber
- Pre-installed attic ladder
- Peckers
- Level device
- Hacksaw
- Measuring tape
- Circular saw
- Plasterboard saw
- Pin saw
- Reciprocating saw
- Nail gun
- Drill saw
- Hammer
- Solid screws
- Setsquare
- Sawhorses
- Ladder
- Safety gear
Step-1: Pick a location and cut the hole
If you have the hole already and are just replacing the old attic ladder with a new one, you don’t need to bore any hole. However, if it is a new project, you need to open the attic ladder. When cutting the hole, you need to be careful and watch out for cables and other things up there.
Step-2: Carry out the measurement
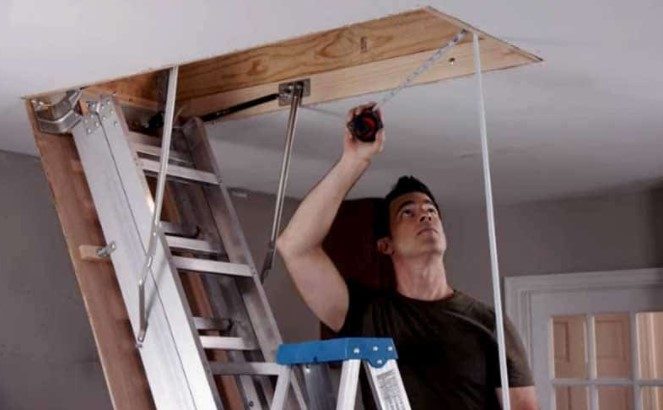
It is wrong to carry out any cutting task without any measurement. To measure the hole, you need a measuring tape to know the dimension of the attic ladder. You need to measure the width and the length of the ladder.
Step-3: Cut the ceiling
So, you are to use the tape measurement to create marks for easy cut. Once you have made the mark on the ceiling, you can use the level to align the mark and ensure that you have a straight line. Then go ahead to cut out the hole in the ceiling.
Take note: you need to use your nose mask when cutting the hole, so you don’t have the dust escape to your nostril.
Step-4: Cut the joist and other frames
Once you have exposed the hole, inevitably, you won’t find a joist or some frame. Therefore, you need to cut the joist and frame using your reciprocating saw and saw. You need to cut any that can obstruct the installation of the ladder.
When cutting the frame, you need to ensure it has a spacing for the noggin, which will support the ladder needs.
Step-4: Install the noggin in
Now, you should measure the space and cut out the noggin in on a strong flat wood to install in the frame. You should nail the noggin in and firmly ensure it stays in place to hold the ladder.
Step-5: Place the ladder in place
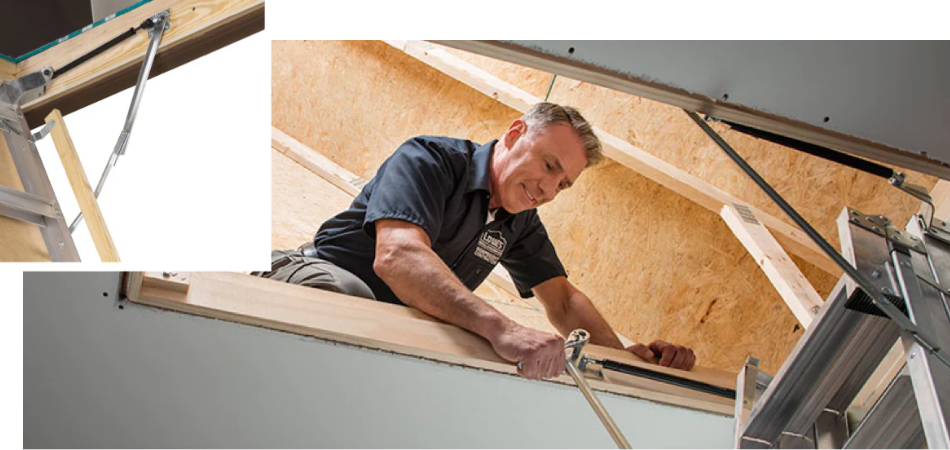
To place the ladder in the hole, you need to cut a small piece of wood and nail it at one edge of the hole opening. It will help support the ladder after raising and pushing it in place. Sometimes, you need a helping hand to lift the ladder.
You should add the second wood at the other end to keep the ladder temporarily in place and then adjust to ensure its frame is resting on the two small pieces of wood, as seen in the image above.
Step-6: Lower the door and screw the ladder in
You should gently open the door and then screw in the ladder in place. Then you can fill all holes with filler and then repaint the ceiling.
Conclusion
We have on this page to teach you how to install an attic ladder by yourself. Fortunately, you have found the right information you need. With the information above, you can easily install your attic ladder yourself without the help of an expert.
It will save you the money of paying an expert to fix the attic ladder for you. Also, you have some other information you need to know about factors that can affect the installation and how to avoid them for the task at hand.